 Most Linux development is done on Ubuntu running under Hyper-V on my Windows 10 PC. If you have lots of RAM (and I have a full 64 GB), it’s very convenient. I run Snagit on Windows and this makes it very easy to grab screenshots of the Ubuntu window.
I also have a “Raspberry-pi” running under Hyper-V. There’s a Raspbian desktop that you can download and run in Hyper-V, VirtualBox or VMWare though I’ve only done Hyper-V. Don’t forget when you are running a Raspberry Pi this way that its x86 based not ARM. That does affect the available software, so it doesn’t behave exactly like a real Pi though often close enough.
Today though I started getting low disk space from my virtual Ubuntu. That’s the problem with virtual machines. When you first setup a Virtual hard disk, you never know just how much disk space you will need.
There’s a terminal command that shows how much space you have left.
df -h --total
This produced this
david@david-Virtual-Machine:~$ df -h --total
Filesystem      Size  Used Avail Use% Mounted on
udev            942M     0  942M   0% /dev
tmpfs           193M  1.4M  192M   1% /run
/dev/sda1        11G  9.9G  603M  95% /
tmpfs           964M     0  964M   0% /dev/shm
tmpfs           5.0M     0  5.0M   0% /run/lock
tmpfs           964M     0  964M   0% /sys/fs/cgroup
/dev/sda15      105M  3.6M  101M   4% /boot/efi
tmpfs           193M   16K  193M   1% /run/user/121
tmpfs           193M   24K  193M   1% /run/user/1000
total            14G  9.9G  4.1G  71% -
This was after I’d extended my virtual hard disk. You can see I now have 4.1 GB free.
The pretty picture is from a utility filelight. You install it in the usual way
sudo apt install filelight
Or if you prefer a more visual insight, install qdirstat.
sudo apt install qdirstat
This is like WinDirStat on Windows but qdirstat seems to run many times faster. It took a couple of seconds to produce this image below. WinDirStat would take 10-30 minutes.

So how did I expand my Hyper-V hard drive?
First you have to get rid of any checkpoints. Save your Hyper-V session if open then delete the checkpoint.
 Right click on the checkpoint for the selected VM and click delete. This will take a minute or two and you’ll see it have a Merging status. You may need to shutdown the VM.
After that you can go into the settings and it will let you edit the virtual hard drive and change the size.

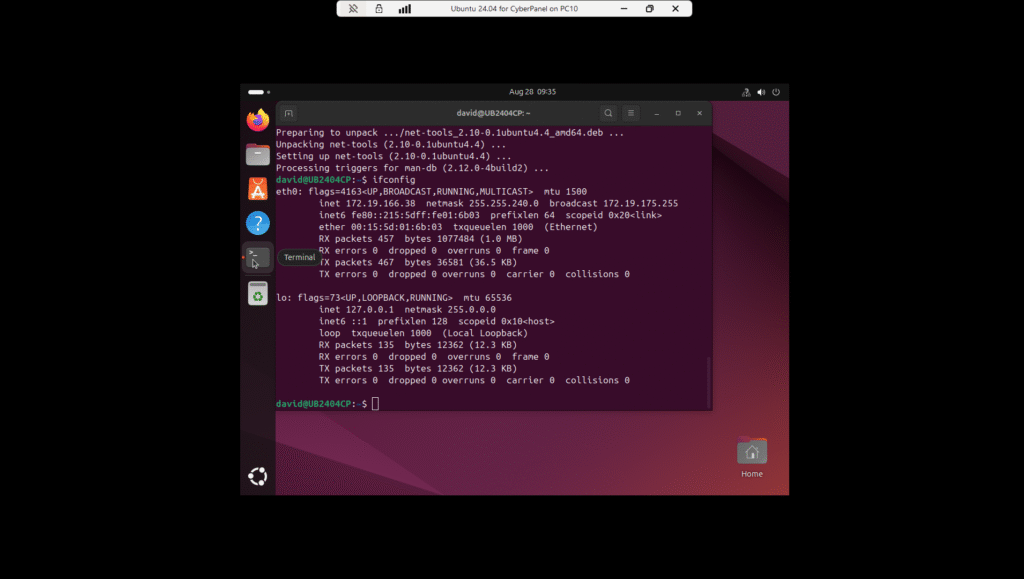 I run Ubuntu in a hyper-V session. It works very well and handy for getting screenshots. I’ve been using a 24.04 LTS for a while and decided I needed another one to test CyberPanel. i already have Webmin on my main one so wanted a clean Ubuntu so as not to mess Webmin. It took ten minutes to setup then another 20 minutes to install 300+ updates.
 I’ve been using virtual machines for years. Originally I started with VirtualBox, the free VM manager from Oracle. I’m not sure why I switched to Hyper-V, about five or six years ago but I’ve been on Hyper-V since then. You need to be on Windows Pro and have at least 8 GB though the more RAM the better. I have 64 GB and the most I’ve ever had in use at one time is 29 GB. I always try to keep RAM use below 50% as there’s less disk swapping.
 Yes it is possible, as the screenshot shows. You can download a copy of Raspbian from
