
When Raspberry Pi Goes wrong
 It happened to me today, not once but twice. First the Hyper-V version of Raspberry PI OS I have installed (handy for screenshots) didn’t update properly. Apt got itself in a right state and attempts to fix broken packages on APT just made things worse. In the end, I fetched another copy from this page and installed that in Hyper-V and deleted the first one. I wonder if Raspberry PI OS will ever make it into the Microsoft Store as one of their WSL Linuxes?
At the same time I had forgotten to write down a login password for a real PI and burnt myself a new Pi SD CArd. After it did the initial update and reboot, it came up with BCM2835 Exception stack errors and hung. I burnt it again, went through the update palaver and it did the same. A quick Google and I found a suggestion that my SD Card was failing although it had burnt without error twice and switching to a different card fixed it.
Out of curiosity, I fired up Win32DiskImager and ran a verify against it and got this error message below. If you can’t read it says Verification failed at sector 8192. Well at least I now know and the SD Card was about to be binned and I took a last look at it. 4GB! I’d been burning a 7GB image onto it; no wonder it crashed.. I’m amazed it ever burnt and worked… I’d used it in the past for the DietPI distro which is much smaller. Most of my spare SD Cards are 8 GB; that’ll teach me for not checking…

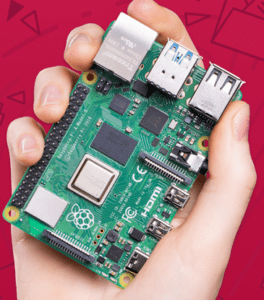 I believe that the Raspberry PI, especially the 4B is a great and very low cost machine for not only running games but for developing them as well. Of course, if you have a PC, Linux or Mac then you can use that as a development machine but if you haven’t, it costs less than £100 (when you count the system, case, cables, SD-Card) to get up and running.
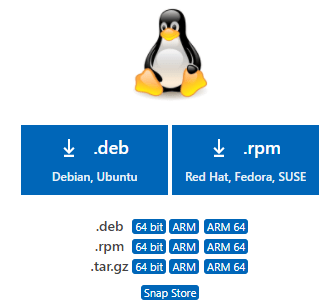 Which means it supports Raspberry Pi. Of course I’ve been using it thanks to the code.headmelted.com version but it’s convenient now that both 32-bit and 64-bit ARM are available to download from the official site. As always, make sure you pick the .deb version either ARM for the 32-bit Raspberry Pi OS or ARM 64 if you have the 64-bit.
 that you can try are based on Linux but there are a few that aren’t.


 My Raspberry Pi now has both a 7″ touchscreen and a 24″ monitor working at the same time. Most work is done on the big screen but the smaller display is for testing. I’ve reconfigured it so the menu is on the bigger screen, it makes more sense.
 It was very easy. This was onto my Pi 4 running 64-bit Raspberry Pi OS.