
Learn C Games
 This blog is about C and Games programming (in C mainly). There are now two ebooks written by David Bolton, author of the Learn C Games Programming for beginners EBook. This is the Windows version, with a Raspberry Pi/Linux one now out.
The first 20 chapters introduce and teach C programming with many examples. This link is to an .mp4 of the asteroids game from the book. It’s about 90 seconds long and demonstrates all of the features of the game. High score table, rotating asteroids (four sizes), sound, explosions, ship hyper-jump and shields.
The remaining 30 chapters (20 in the Linux/Raspberry PI) builds up to full source code, about 2,000 lines, in 13 stages and I explain how each feature works and is implemented. All of the book’s source code is on Github. (Windows) or (Linux). More about me. Buy the Windows one on Amazon(UK), Amazon(US) or the Linux/Raspberry PI. (UK). You can buy the book in other regions by changing the region in Amazon to your local one.
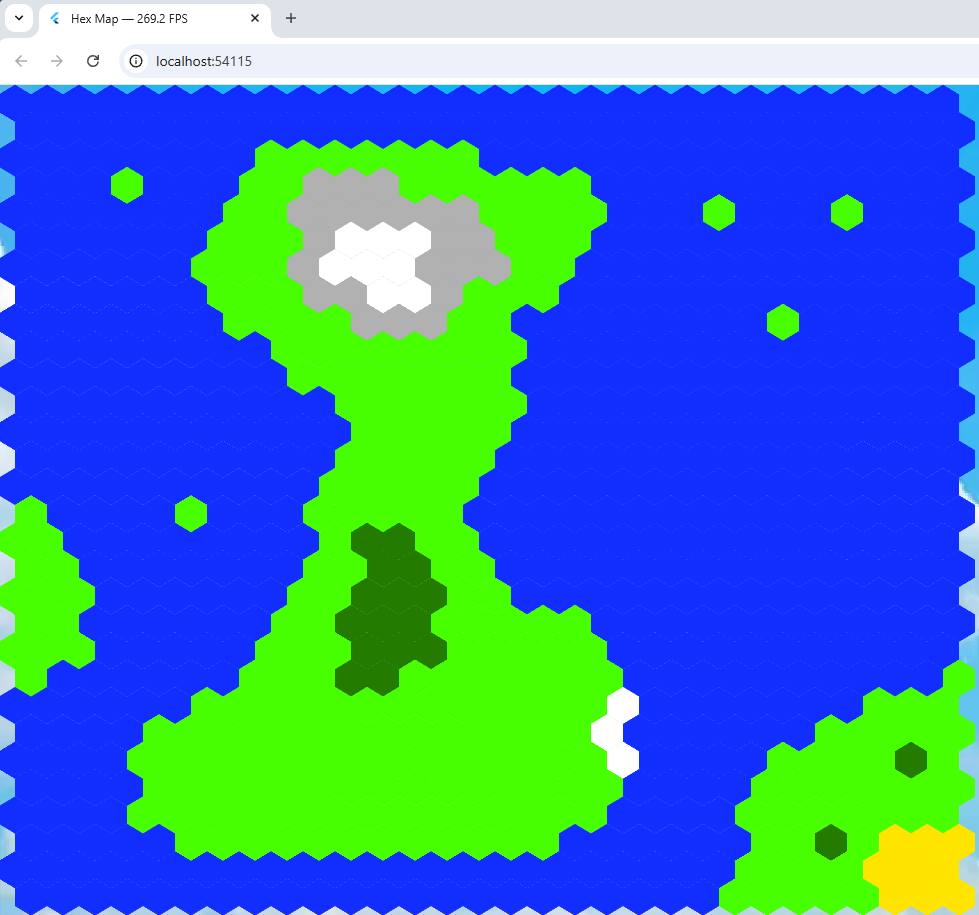 I thought maybe the non-tiled hex map program mentioned in my last blog entry would be easier to work with and as fast but just to be on the safe side, I measured the frame rate of both programs.
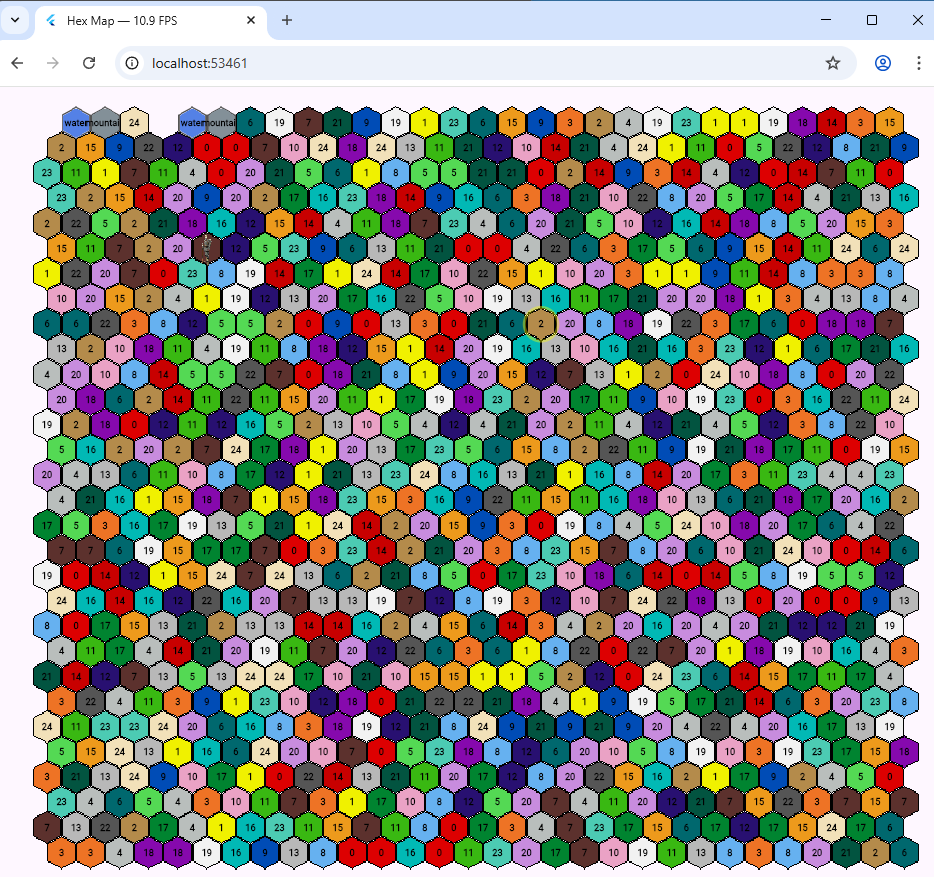 Originally I was going to use Tiled to draw hexagons in a Flutter web game. But it seemed easier to do it manually without having to worry about working with the .tmx format which is an all singing format based on a XML file structure, and seems more suited to static maps.
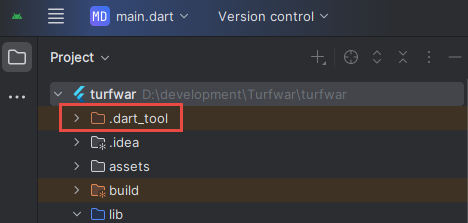
 A recent update saw Flutter compiles on Ubuntu broken due to an issue with lld. This was only on Flutter installed under snap. To fix it, I removed Flutter and reinstalled it from Git. There were a few issues after that so I’ve documented them here. This is the process.
![Target dart_build failed: Error: Failed to find any of [ld.lld, ld] in LocalDirectory: '/snap/flutter/149/usr/lib/llvm-10/bin'](https://learncgames.com/wp-content/uploads/2026/01/linux-flutter-build-error.png) So I’ve been working on my game and to save time build the web project as a Linux app. It compiles it and runs it quicker than doing it with Chrome. Until yesterday.
So I’ve been working on my game and to save time build the web project as a Linux app. It compiles it and runs it quicker than doing it with Chrome. Until yesterday.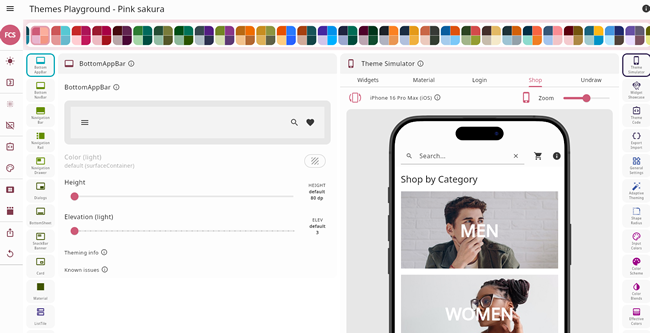 One of Flutter’s big strengths is its supports for theming; you can define or change colours for every aspect of your UI but it can be a bit complicated. Now an open source project provides a way to simplify things. It’s called

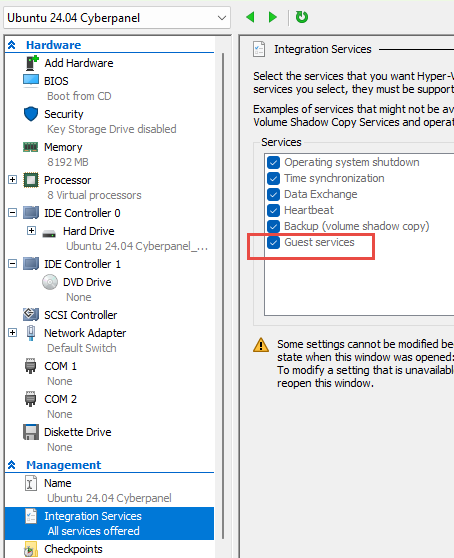
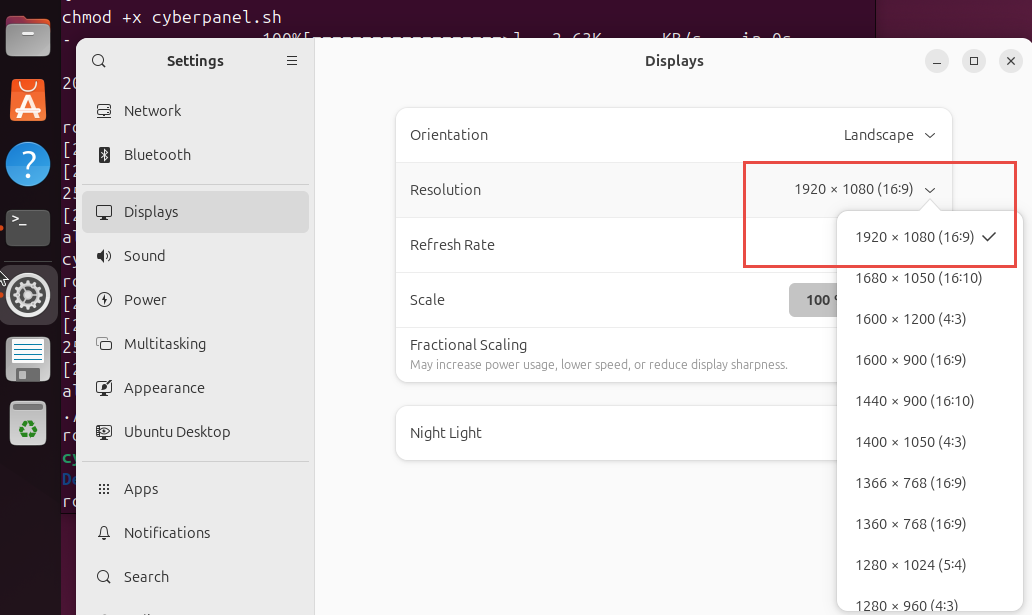
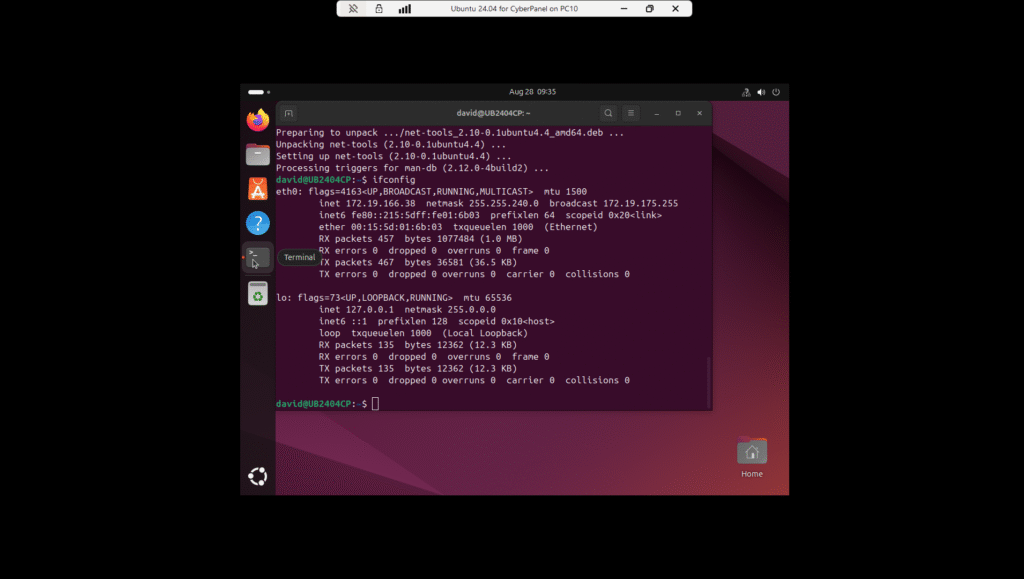 I run Ubuntu in a hyper-V session. It works very well and handy for getting screenshots. I’ve been using a 24.04 LTS for a while and decided I needed another one to test CyberPanel. i already have Webmin on my main one so wanted a clean Ubuntu so as not to mess Webmin. It took ten minutes to setup then another 20 minutes to install 300+ updates.